How to Fix Cash App “Transfer Failed for My Protection” Error (2025 Solved)
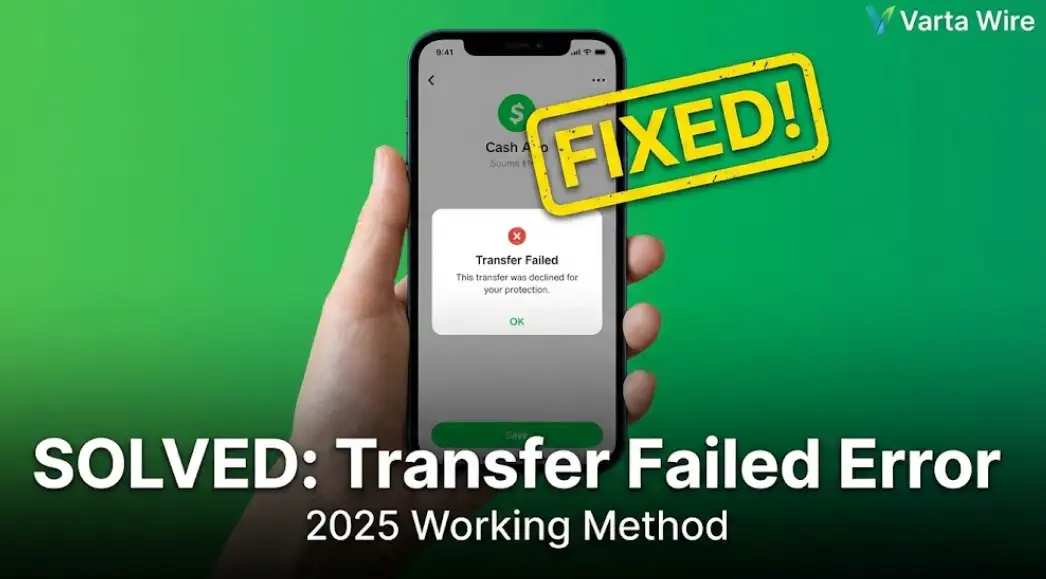
Imagine this: You are trying to pay for dinner or send rent money, but suddenly you get a frustrating popup saying: “This transfer was declined for your protection.”
If you are searching for how to fix the Cash App transfer failed for my protection error, you are not alone. Thousands of users in the USA face this specific security block every day.
You might be wondering: Is my money stuck? Why is the Cash App transfer failed for my protection message appearing on my screen?
The short answer is: No, you are not banned. This is an automated security flag. In this guide, we will show you exactly how to bypass the Cash App transfer failed for my protection error with 5 easy steps.
Why Does the “Cash App Transfer Failed for My Protection” Error Happen?
Before fixing it, you must understand why the Cash App transfer failed for my protection error occurs. Cash App monitors millions of transactions to prevent fraud. It triggers this error if:
- New Recipient: You are sending money to someone for the first time.
- High Amount: The transaction amount is unusually high for your history.
- Location/VPN: You are using a VPN or public Wi-Fi, leading to the Cash App transfer failed for my protection alert.
- Unverified Account: Your identity (SSN) is not fully verified.
Here is how to solve this immediately.
Solution 1: Turn Off VPN to Fix Cash App Transfer Failed for My Protection
Cash App hates anonymous networks. If you use a VPN, the AI assumes you are a hacker, causing the Cash App transfer failed for my protection issue.
- The Fix: Disconnect from Wi-Fi and switch to your mobile data (5G/4G/LTE).
- Action: Close the app, turn off VPN, and try sending the money again. This is the #1 way to resolve the Cash App transfer failed for my protection glitch.
Solution 2: Verify Your Identity (SSN Check)
If you are an unverified user, you will frequently see the Cash App transfer failed for my protection message.
- Open Cash App and tap on your Profile Icon.
- Scroll down to Personal.
- Ensure your Full Legal Name, Date of Birth, and Last 4 digits of SSN are correct.
- Once verified, the Cash App transfer failed for my protection error usually disappears forever.
Solution 3: The “$1 Test” Strategy
If you are sending $200 or $500 to a new person, the Cash App transfer failed for my protection filter will block it. You need to build “trust.”
- Step 1: Cancel the large transaction.
- Step 2: Try sending just $1 to the same person.
- Step 3: If the $1 goes through, wait for 15 minutes.
- Step 4: Now send the rest. The AI will no longer trigger the Cash App transfer failed for my protection alert.
Solution 4: Cash Out to Your Bank Instead
If you urgently need the funds and cannot bypass the Cash App transfer failed for my protection error for peer-to-peer transfers, withdraw the money to your bank.
- Go to the Banking tab.
- Tap Cash Out.
- Often, withdrawing works even when sending money fails due to the Cash App transfer failed for my protection security check.
Solution 5: Contact Support to Whitelist Transaction
If nothing works, you must tell support that the transaction is safe.
- Open Cash App > Profile > Support.
- Select “Start a Chat”.
- Type this: “I am getting the Cash App transfer failed for my protection error while sending money to a known contact. Please remove the block.”
Frequently Asked Questions (FAQs)
Q1: Will I lose my money if the Cash App transfer failed for my protection? A: No. If you see the Cash App transfer failed for my protection message, the money is never deducted. If it was, it will be refunded automatically within 1-3 business days.
Q2: How long does the Cash App transfer failed for my protection block last? A: Usually, it is temporary. We recommend waiting at least 24 hours before retrying to avoid triggering the Cash App transfer failed for my protection loop again.